Introduction
So you want to get started with advanced data analytics for your boat workouts? You have come to the right place. In this post you will learn all to get started.
After a brief discussion of the Naive Bayes Theorem, we will show how Multivariate Regression and Principal Component Analysis will help you train more effectively. Once you have mastered that, we’ll show Nearest Neighbor Classification and how Multilayer Neural Networks will help you. We’ll show you how to calculate the Levenshtein distance, so you can communicate it to your coach. Finally, we’ll just give a brief introduction to Conditional Probabilities and Constrained Optimization.
All this will be followed by a quiz so you can test your data analytics skills.
If this sounds a bit daunting, don’t worry. I’m just kidding. We’ll just show you what hardware and software you need to start collecting your training data, how you can store them and analyze them on rowsandall.com. There is nothing difficult about this. Also, you don’t need to shell out big money to get started. With a few simple steps you can already start collecting and analyzing data. A warning though: Looking at your data makes you data hungry, so you may eventually get hooked, want to collect more and more data, and purchase some of the more advanced devices that are on the market.
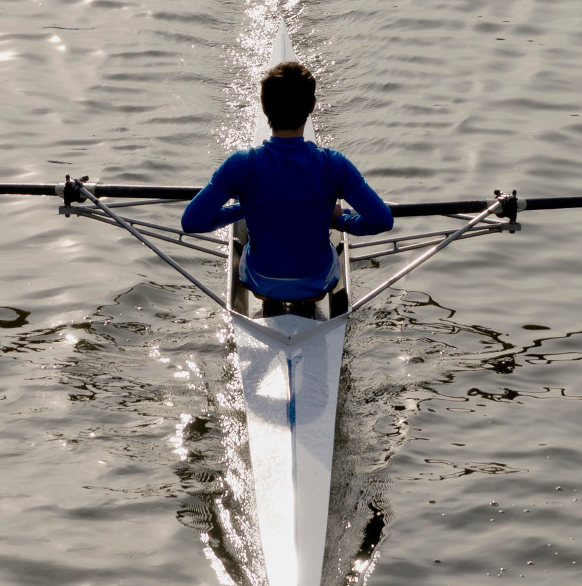
I will write this tutorial for an outing in a single. Most of it easily applies to other boats as well (and will in fact be easier than in the single). In a coxed boat you may want to decide that the coxswain operates the device. In some cases, that means that you have to change to “cox” mode (the boat is moving in the other direction compared to the orientation of the device).
The toys you need
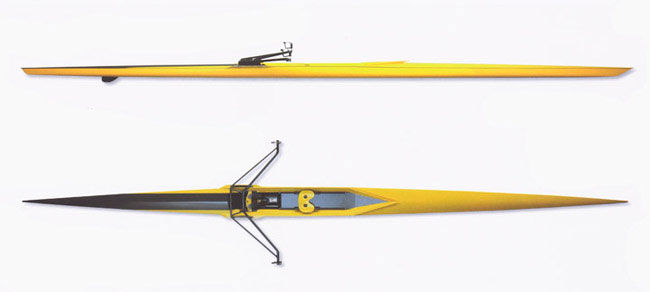
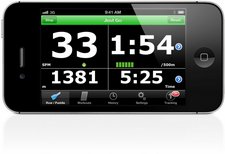
In addition to a boat, you will need some hardware to record your data during the row. There are basically two ways to go. If you haven’t got a rowing dedicated device (such as a NK SpeedCoach), I recommend you start with your smartphone, a watertight case and an app.
Smartphone based list
- A smartphone
- A watertight transparent case. You will want one that allows you to operate the touch screen through the case
- One of the following applications:
- CrewNerd
- Rowing in Motion, also known as RiM
- BoatCoach
Dedicated hardware
- One of the following:
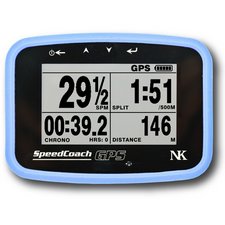
- NK SpeedCoach GPS 2 with Data Pack or NK SpeedCoach (with impeller)
- CoxMate device
Recommended
- A BlueTooth heart rate monitor. We like the Wahoo Tickr or the Polar H7. A good overview or heart rate belts is on the Rowing Musings blog here.
- If you have it, take a watch sports tracker, like a Garmin Forerunner, that you have lying around for your running. This is optional, but I feel it is always good to have an additional channel to capture the most important data. Especially when you go the smartphone way, sometimes the apps hang.
You will also need to figure out the best way to mount everything in your boat. For the first row, use some duct tape. We’ll focus on the data collection and shouldn’t rush into a permanent solution until you know your exact personal preferences.
Redundancy
You are going on to use expensive electronics on the water. The electronics will not float! In addition to the regular holder, always make sure you have your device attached to a tether cord which goes around the footstretcher, the wing rigger, or another handy point in the boat to prevent that you lose your kit when you flip or in rough weather.
I am going to repeat it below in the preparation to launch section, but always prep your boat as much as possible on land, and if you have to move around your electronics on the water, make sure you are always more than two steps away from danger. Accidents always happen through a chain of events, so it is good if that chain is a long one.
Sign up for rowsandall
We’re going to use rowsandall.com as the main site to do rowing related analytics. So go there and register. Basic functionality is free.
If you use a fitness logging site like Strava, SportTracks, or the Concept2 online logbook, you can import and export data between rowsandall and those site quite easily.
Do your first connected row
Before you head to the rowing club
Because this involves water and electronics, a bit more planning and preparation is needed than for connected indoor rowing. So at home, before you go to the rowing club, make sure that all your electronics is charged. It also helps to do some dry runs of operating the app or the device you’re going to use. It is my experience that on the water there is so much going on that you will not be able to figure out how to change a setting or find a function in a menu if you haven’t rehearsed it at home.
The packing list is simple:
- Rowing gear
- Smartphone plus watertight case or your rowing device (NK SpeedCoach or Coxmate). Don’t forget the holders or take duct tape. Again, don’t forget to make sure your electronics is fully charged.
- Heart rate belt
- If you use a backup, your sports watch
- Tether cords
At the rowing club

Get your single out in slings and install all the gear. Tape the smartphone case to a handy place where you can operate it easily. Also, you will want the main window easily visible without losing good rowing posture. The device shouldn’t get in the way of your rowing, of course. Good places are right in front of you on a wing rigger or on a holder on top of your footstretcher. If you are using RiM, you have to pay attention to how you fixate the phone. This advanced application records boat acceleration data, but can only do that reliably if the phone doesn’t move relative to the boat, so you have to pay attention to that. Install the tether cords.
The heart rate belt goes around your chest. A good place for the sports watch is around the oar shaft (for sculling). You don’t want to wear it on your wrist. You won’t be able to look at it, it will be more difficult to operate, and it will hinder you during the row. I find that for sweep rowing I can wear the watch on the wrist, but that’s not for everyone.
If you have a phone that locks up after a few minutes of not using it, you may want to switch on the rowing app already. Don’t start recording yet. Also make sure that your bluetooth heart rate belt is connected to both your phone and your sports watch. Try to remain cool when fellow rowers comment on the free speed you get from taking all that equipment on board. Once you get to work with the data to improve your training, you will become faster (although you still have to work hard for it).
If your app has programmable workouts and you want to do one, check that your workout is already available in memory. You don’t want to program it on the water.
At the dock
Start recording the workout before you push off. In that way, you won’t forget it. If you are using the back up sports watch, start it within a few seconds from the main app. That way, you can overlay the data later.
If your app has multiple views, make sure you have the most relevant one on at this point. I personally always have stroke rate on the display, and the other parameters depend on the type of workout I am doing. For time based workouts, I add time. For distance based, I add distance. If I am doing a “Just Row”, I usually select another parameter. I roughly know the distance, and I can see the time on the sports watch. A useful metric to watch, which is available on most apps and devices, is distance per stroke.
Looking at your 500m pace is not always necessary.
Double check your tether cords. Please don’t skip that step.
Push off and row.
During the row
Don’t get too focused on your data cockpit displays. More important is to row well technically, to watch the other traffic and row safely, and to execute your workout well. I usually look at the display every 5 to 10 strokes, and mostly just to check the stroke rate and time.
If your app has programmable workouts, stop after the warming up, dial up the workout and execute it.
However, this is not necessary at all. The key is to collect data and “just row” mode is fine enough for that. A nasty habit of real world rowing venues is that they tend to sabotage fixed workouts anyway. You have to stop short of your 500m because of traffic, or your rowable water is just not long enough to row 15 minutes at 25spm. If you keep the flexibility, you lose no training effect and you are at a much smaller risk to become that data obsessed asshole who doesn’t respect the other boats.
After the Row
Stop and save your workout on the device when you’re still on the dock. If you don’t make a habit of doing that immediately, you will end up recording yourself walking around on the rowing club, carrying your boat to the hangar, chatting with other rowers, etc. Not so interesting data.
Back at the club house, immediately add some notes to the workout. This is not mandatory of course, but it is good to add a few words about how well you executed the plan and how tired you felt.
Getting your data from your row to rowsandall is different for different devices. Some apps, like crewnerd allow you to directly email workouts in TCX format. Other devices require you to go through a couple of steps to get your rowing data in a format that can be imported to rowsandall. Rowing Motion requires you to upload to their online logbook, and then you can export a TCX file. On NK devices, they provide a PC (and now apparently mobile) application to get data off the speedcoach and then you can export it as a CSV file.
Playing with the data
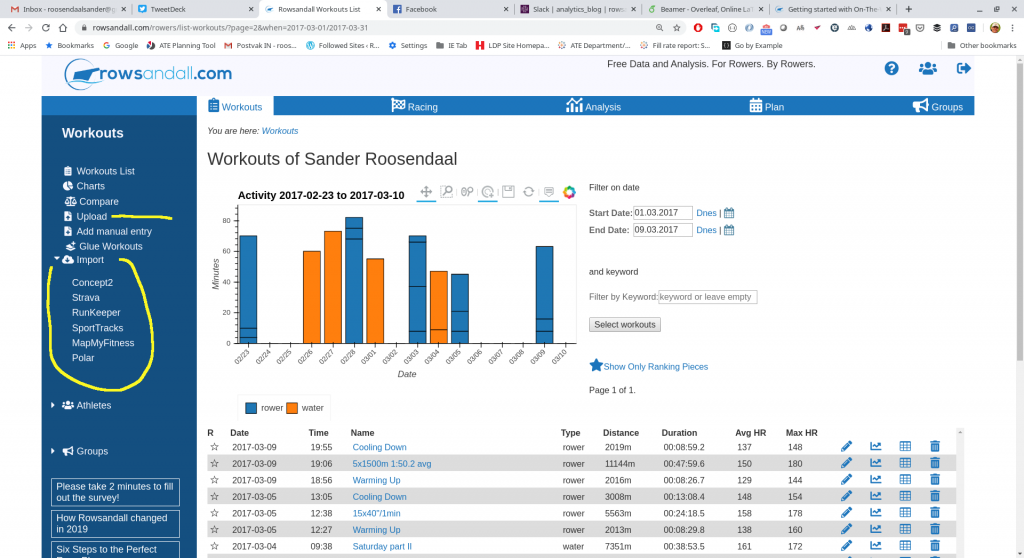
If you did email the data to workouts@rowsandall.com, your data are already on the site. If not, surf to https://rowsandall.com and either
- Use the Upload link in the left menu upload the file that you got from your device or app. For SpeedCoach GPS, use either the FIT file or the CSV file. Both will work fine. The CSV file has more data fields, but at the moment of writing the GPS coordinate accuracy is a bit low. NK is working on improving that.
- Attach the file to an email that you send to workouts@rowsandall.com. Email processing should take less than a minute. You should get a confirmation email.
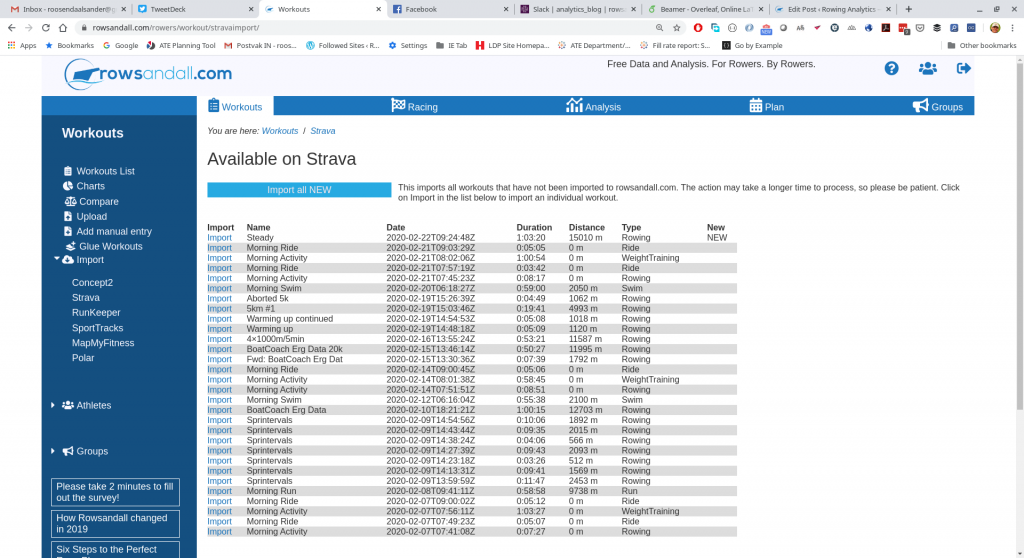
- If you have synchronized from your App to SportTracks or Strava, click the Import link in the left menu, then click on either SportTracks or Strava. You should see a screen that looks like the one below. Just follow Import for the workout that you need (probably the top one on the list). To make it even easier, Rowsandall has indicated for you which workouts it doesn’t have in its database (“NEW” at the end of the first item in the list). If you want to import all your Strava workouts to Rowsandall, use the “Import All New” button at the top of the page.
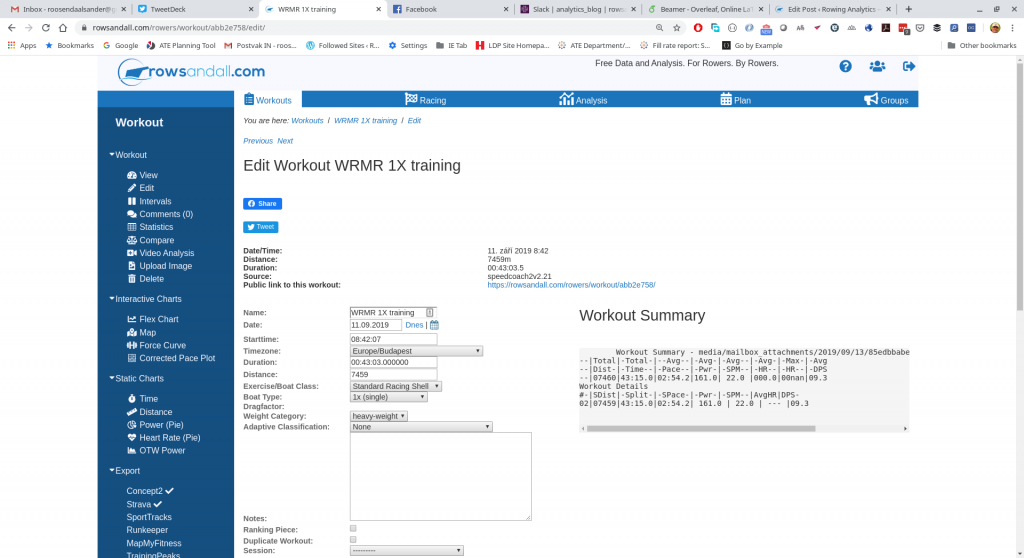
After you have done this, you will end up on the workout edit screen:
This is where you can create the most common charts using the links in the left menu. On the right side of the page, you can see a summary of your row. As I recorded everything as one “just row”, there is just one single split time. You can change that with the Interval Editor. Just click “Intervals” in the left menu. If you want to dive deeper into defining intervals, Rowsandall has some pretty powerful functions. You can read all about them here and here, and if you’re a user of the NK Empower Oarlock, you will find a lot of helpful information here.
The Export menu on the left allows you to export this workout to third-party logbooks such as the Concept2 Logbook, Strava, SportTracks and more. If the workout is already synchronized to one of those sites, a check mark will be set after the link, and clicking on the name of the site will look up this exact workout on that site.
There is much more to explore in the left menu. I encourage you to take the plunge and try out a few links. Especially the Flex Chart is interesting, but also “Compare Workout” and “Statistics” a popular destination. If you have a video of your row, upload it to YouTube and try out the “Add Video Analysis” functionality. Here are two cool plots you can make with the Flex chart (using a SpeedCoach/Empower Oarlock combination):
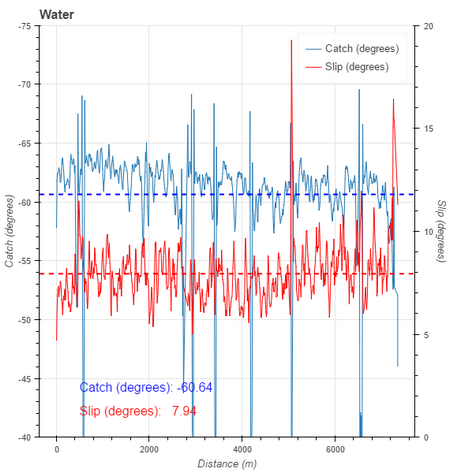
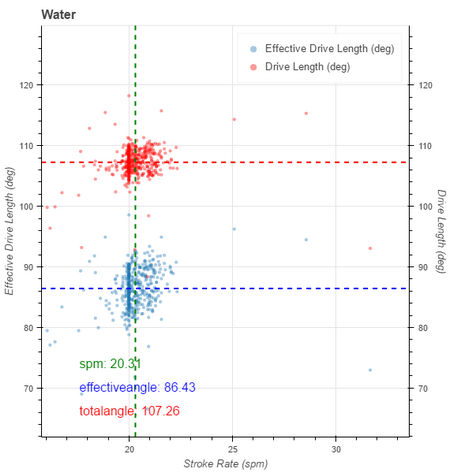
Scrolling down on that page, you will find more a “Data” menu to allow you to manipulate the raw data for this workout. The Advanced menu is where, surprisingly, advanced functions are hidden. More about that in other posts on this site.
The only think I want to point out here is the “Smooth data” functionality (under the “Data” menu). At rowsandall.com, we try to auto-smooth your data as good as possible, but some phones produce noisy pace data. Hitting the smooth button (repeatedly) can help. If you feel you have gone too far, you can always reset to the original values using the “Restore Raw” button.
What now?
What now? The real fun with data begins when you start to accumulate training data and see trends. Compare workouts. Monitor your training load and progress. And much more. There a few nice articles to read on this blog that show you some of the advanced uses. Also, I recommend following our personal training blogs on blog.rowsandall.com and quantifiedrowing.wordpress.com for inspiration.
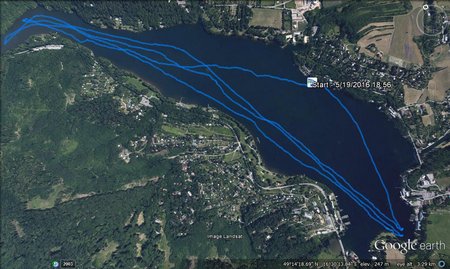
Oh and the map below is not a result of a GPS data error. That was just a very novice coxswain trying to get the eight to go straight. Even that can be analysed using the data you collected.
Happy rowing!

